
Setting up your XION Smart Contract Development Environment on Windows (WSL2 + Ubuntu)
This guide walks you through setting up a local XION developer environment on a Windows machine using WSL2 with Ubuntu. This is the recommended setup for Windows users who want to work with xiond, build and interact with their CosmWasm smart contracts.
Prerequisites
Windows 10 or 11 (64-bit)
Install WSL2 with Ubuntu
If you don’t have WSL2 set up, execute the following command in PowerShell:
wsl --installThe --install comand performs the following actions:
Set WSL2 as the default
Downloads and installs the default Ubuntu Linux distribution. You will need to restart your machine during the installation process.
If you want to install a different Linux distribution or another version of Ubuntu, first run the following command to view the list of available distributions:
wsl --list --onlineTo change the distribution installed, enter:
wsl --install -d <Distribution Name>Replace <Distribution Name> with the name of the distribution you would like to install.
This guide assumes that you have Ubuntu installed as your Linux distribution.
Check to make sure WSL2 is set as default:
This should display the following "Default Version: 2".
If you're already using WSL1, you can upgrade to WSL2 using the following:
You can list your installed Linux distributions and check the version of WSL each is set to by entering the command:
Set up your Linux username and password
Click the Windows start menu button and in the search field enter "Ubuntu".

Click the Ubuntu app to open the distribution and in the terminal that's loaded you will be asked to create a User Name and Password for the Linux distribution. This User Name and Password is specific to each separate Linux distribution that you install and has no bearing on your Windows user name.

Update and upgrade packages
In the Ubuntu terminal use the following command to update the Ubuntu distribution to reduce the chance of a package not working:
Install Build Essentials and Development Tools
Install Docker (for CosmWasm Optimizer)
Follow Docker's official instructions for WSL2 or install Docker Desktop and enable WSL2 backend. The general steps include:
Download and install the latest version of Docker Desktop for Windows.
Follow the usual installation instructions to install Docker Desktop. Depending on which version of Windows you are using, Docker Desktop may prompt you to turn on WSL 2 during installation. Read the information displayed on the screen and turn on the WSL 2 feature to continue.

Start Docker Desktop from the Windows Start menu.
Navigate to Settings.
From the General tab, select Use WSL 2 based engine..
If you have installed Docker Desktop on a system that supports WSL 2, this option is turned on by default.
Select Apply & Restart.
Once installed, make sure docker is running. You can verify that docker is installed and accessible via the Ubuntu distribution by executing:
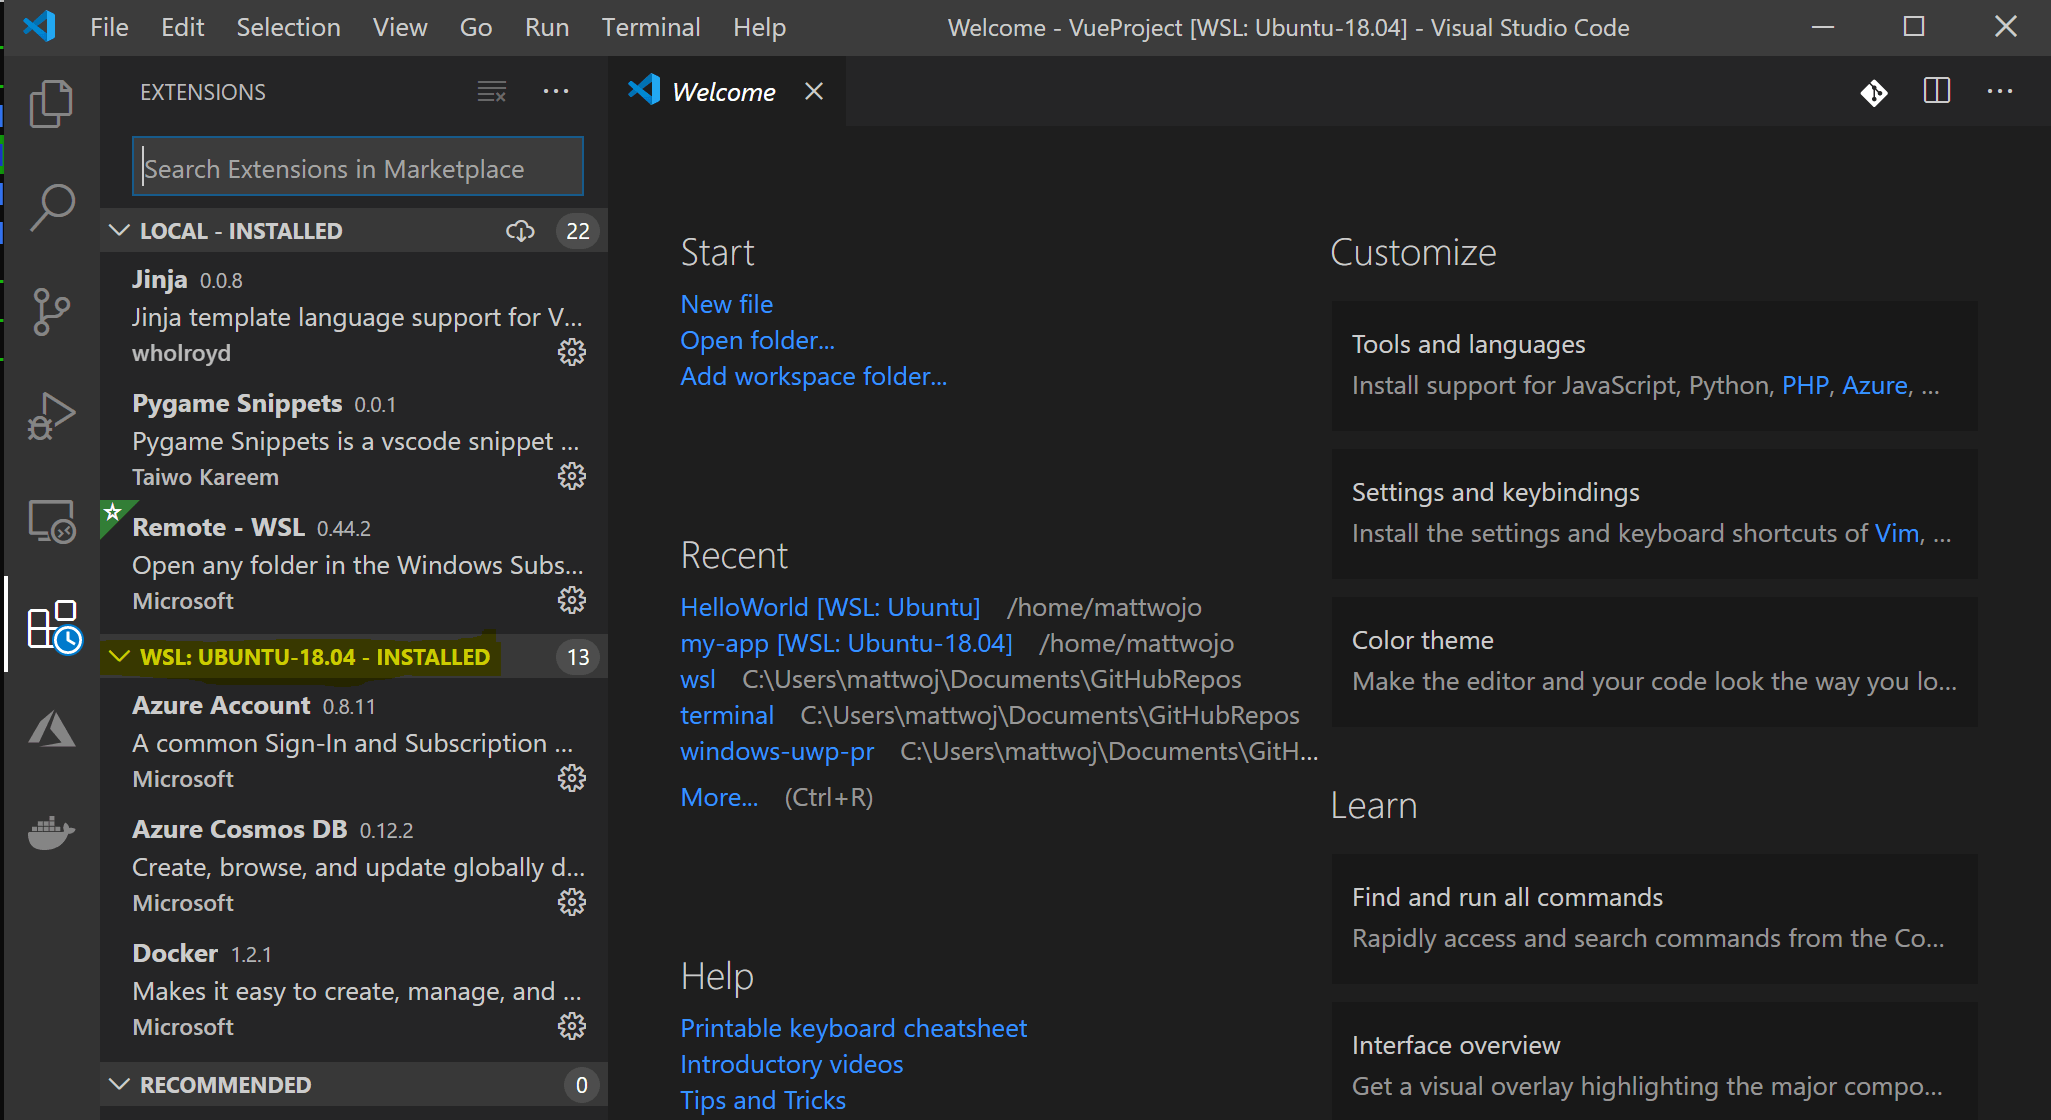
Setting up Visual Studio Code
Follow this step-by-step guide to Get started using Visual Studio Code with WSL, which includes installing the Remote Development extension pack. This extension enables you to run WSL, SSH, or a development container for editing and debugging with the full set of Visual Studio Code features. Quickly swap between different, separate development environments and make updates without worrying about impacting your local machine.
Once VS Code is installed and set up, you can open your WSL project with a VS Code remote server by entering: code . .
Be sure to add the period at the end of the command to open the current directory.
Optimize Contract: Example
In this example, we’ll walk through the steps to compile a Xion smart contract using the setup described above.
Clone the Repository
Start the Ubuntu app, and in the terminal, use the following commands to clone the repository and navigate into the project directory:
Make sure Docker is running.
Next, compile and optimize the smart contract using the CosmWasm Optimizing Compiler. You need to have Docker running to execute the command below:
Once compiled, the optimized contract will be available at:
Using Visual Studio Code
To optimize the contract from within Visual Studio Code, open your project using the command:
This will launch the project in Visual Studio Code. From there, open a terminal within the IDE and run the Docker command above.
Install xiond Binary
xiond BinaryYou can now follow this guide to install xiond within the Ubuntu environment. It's preferable to use the Debian based installer.
Last updated
Was this helpful?